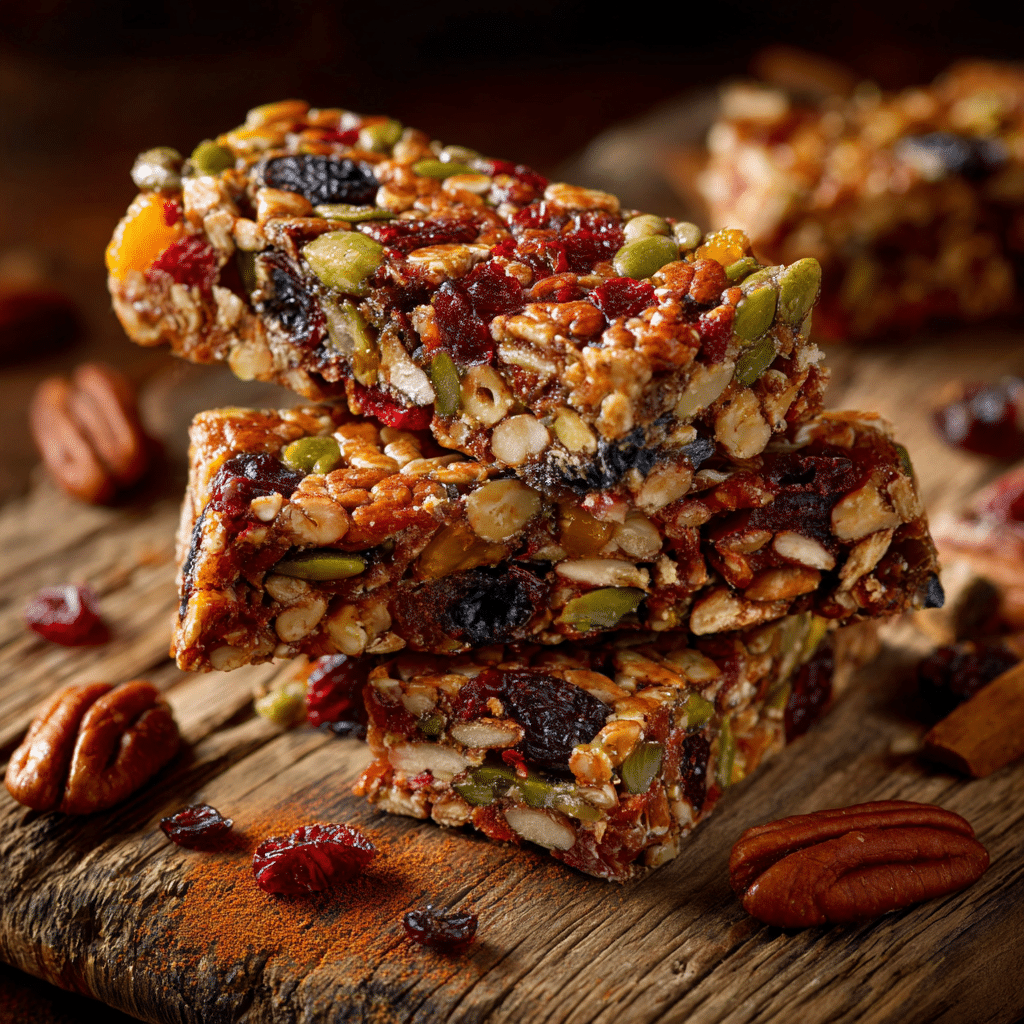
Granola bars are one of those snacks that feel both indulgent and wholesome—especially when you make them yourself. These Healthy Homemade Granola Bars are chewy, naturally sweetened, and packed with nourishing ingredients that provide lasting energy. Whether you’re looking for a quick breakfast on-the-go, a lunchbox filler, or a pre-workout bite, these bars are a tasty and practical solution.
What sets homemade granola bars apart from store-bought versions? For starters, you control what goes in—no preservatives, artificial flavors, or hidden sugars. This recipe is a blend of oats, nuts, seeds, dried fruit, and a touch of natural sweetener to hold it all together. It’s a versatile base that welcomes your favorite mix-ins, making it easy to customize for dietary preferences or seasonal flavors.
Granola bars have roots in the 1960s health food movement in the U.S., when back-to-basics eating first started gaining mainstream attention. Since then, they’ve evolved into a pantry staple around the world—popular among hikers, busy families, and anyone who loves portable nutrition.
Let’s dig into the recipe and all the tips to make your homemade granola bars a success every time.
Ingredients Overview
Before heading into the step-by-step instructions, it’s helpful to understand why each ingredient plays a key role in texture, flavor, and nutrition.
Rolled Oats
Old-fashioned rolled oats are the backbone of this recipe. They provide a chewy texture and complex carbohydrates that deliver slow-burning energy. Avoid quick oats—they’re too soft and can lead to crumbly bars.
Nut Butter
Whether you use almond, peanut, or cashew butter, this ingredient acts as a binder and adds creamy richness and healthy fats. It also helps balance blood sugar by offsetting the natural sugars in the recipe.
Honey or Maple Syrup
These natural sweeteners do more than add flavor. When warmed and combined with nut butter, they act like glue to hold all the dry ingredients together. Choose honey for a traditional chew and mild floral taste, or maple syrup for a vegan option with warm, caramel notes.
Chopped Nuts
Almonds, walnuts, or pecans give crunch and a boost of protein and healthy fats. Toasting them briefly before mixing enhances their flavor and makes them easier to digest.
Seeds
Chia, flax, sunflower, or pumpkin seeds increase the bars’ fiber and mineral content. They also provide texture and a pleasant nutty taste.
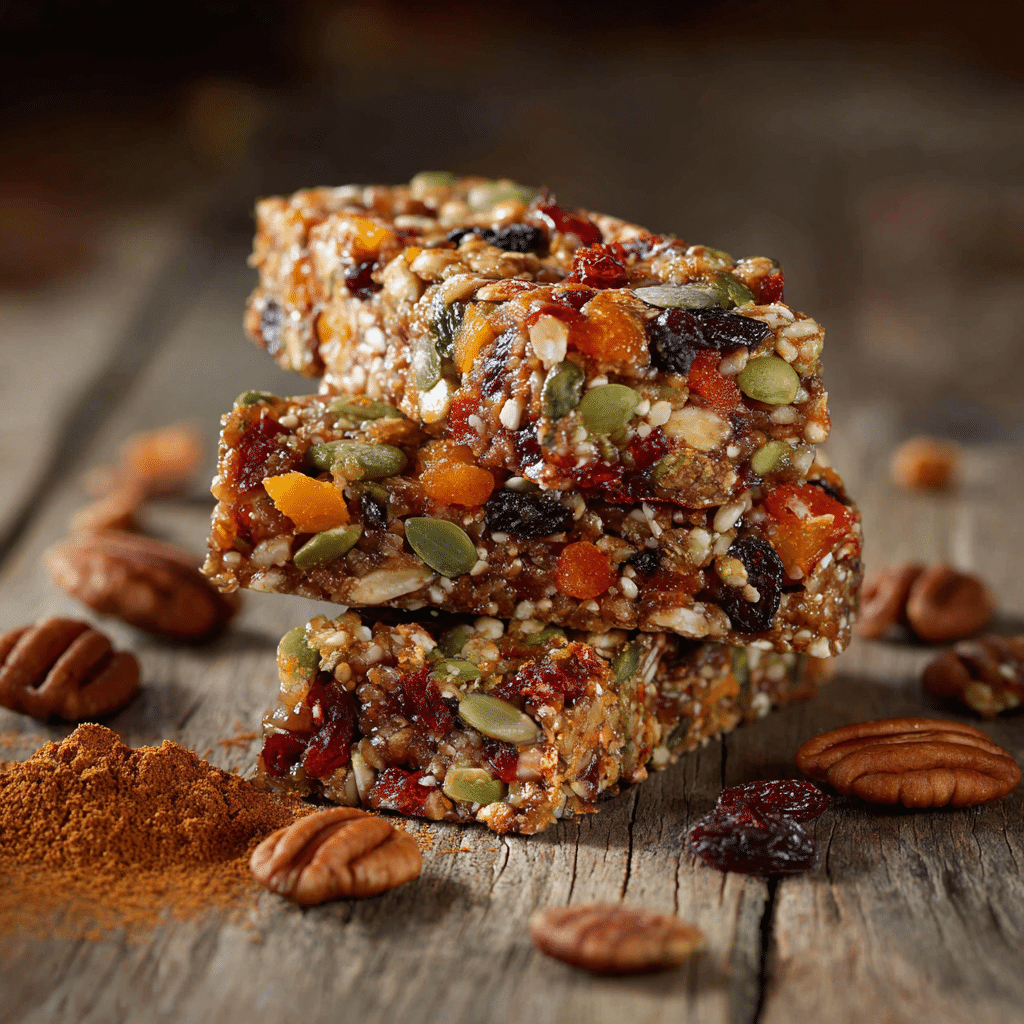
Dried Fruit
Chopped dates, cranberries, raisins, or apricots add natural sweetness and chewy texture. Dried fruit also contributes iron and antioxidants.
Vanilla Extract
A splash of vanilla deepens the flavor profile and complements both sweet and nutty ingredients.
Salt
A pinch of salt enhances the sweetness and keeps the bars from tasting flat.
Step-by-Step Instructions
Here’s how to make chewy, sliceable granola bars that won’t fall apart in your hands—or your lunchbox.
1. Toast Your Oats and Nuts
Preheat the oven to 350°F (175°C). Spread the rolled oats and chopped nuts on a baking sheet in an even layer. Toast for 8–10 minutes, stirring halfway through. This step adds depth and makes the final bars more flavorful.
2. Warm the Binding Mixture
In a small saucepan over low heat, combine the nut butter and honey (or maple syrup). Stir continuously until smooth and warmed through. Remove from heat and stir in the vanilla extract and salt.
Texture Tip: Warming the mixture helps it blend evenly and makes it easier to coat all the dry ingredients.
3. Mix the Dry Ingredients
In a large bowl, combine the toasted oats and nuts, seeds, and chopped dried fruit. Pour the warm nut butter mixture over the top and stir well until everything is evenly coated.
Pro Tip: Use a silicone spatula or clean hands to ensure every oat is covered. This prevents dry, crumbly corners.
4. Press and Chill
Line an 8×8-inch (20×20 cm) baking pan with parchment paper, leaving a little overhang for easy lifting later. Transfer the mixture to the pan and press it down firmly using the back of a measuring cup or glass.
Firm Pressure = Better Bars: Compressing the mixture tightly is key to bars that hold their shape.
Refrigerate for at least 2 hours, or until the bars are firm and set.
5. Slice and Store
Use the parchment overhang to lift the bars from the pan. Place on a cutting board and slice into 10–12 bars using a sharp knife. Store in an airtight container in the fridge for up to a week or freeze for longer shelf life.
Tips, Variations, and Substitutions
There’s no one-size-fits-all approach to granola bars. Here are some popular ways to make them your own:
Variations
-
Chocolate Chip: Add ¼ cup of mini chocolate chips after the mixture has cooled slightly (so they don’t melt).
-
Tropical: Use dried pineapple, coconut flakes, and macadamia nuts for a vacation-inspired version.
-
Spiced: Stir in ½ teaspoon of cinnamon or pumpkin pie spice for a cozy twist.
Substitutions
-
Nut-Free: Use sunflower seed butter and skip the nuts in favor of extra seeds.
-
Low Sugar: Use a mashed ripe banana or unsweetened applesauce to replace half the honey/maple syrup.
-
Gluten-Free: Make sure your oats are certified gluten-free.
Pro Tips
-
If the mixture feels too dry, add 1–2 tablespoons more nut butter.
-
Wet your hands before pressing the mixture into the pan to prevent sticking.
-
Freeze individual bars in wax paper for grab-and-go convenience.
Serving Ideas & Occasions
Homemade granola bars are ideal for:
-
Busy Weekday Breakfasts: Pair with Greek yogurt and berries.
-
Lunchbox Snacks: Great for both kids and adults.
-
Pre-Workout Fuel: Balanced with carbs, fats, and protein for sustained energy.
-
Traveling: These bars are sturdy enough to pack for hikes, flights, or road trips.
-
Brunch Platters: Slice into smaller squares and serve alongside fruit and coffee.
They also work beautifully in snack boards or DIY trail mix jars as thoughtful gifts.
Nutritional & Health Notes
Each bar offers a well-rounded combination of macronutrients:
-
Complex Carbs (from oats and dried fruit): Keep you energized without a crash.
-
Healthy Fats (from nuts and seeds): Support brain and heart health.
-
Protein (from nut butter and seeds): Keeps you full and helps with muscle repair.
-
Fiber (from oats, fruit, and seeds): Aids digestion and supports gut health.
Compared to store-bought bars that may contain syrups or palm oil, these homemade bars are naturally sweetened, free from preservatives, and customizable for food sensitivities. You can keep them refined sugar-free, dairy-free, and gluten-free, depending on your ingredients.
FAQ
1. Can I bake these granola bars instead of chilling them?
Yes, for a firmer, crispier texture, bake the pressed mixture at 325°F (165°C) for 15–20 minutes. Let them cool completely before slicing.
2. Why are my bars falling apart?
Most likely the mixture wasn’t compressed firmly enough, or it lacked enough binding ingredients. Make sure to press down well and chill thoroughly.
3. How long do homemade granola bars last?
They stay fresh in the refrigerator for up to 7 days, or can be frozen for 2–3 months. Use parchment or wax paper between layers to prevent sticking.
4. What’s the best nut butter to use?
Peanut butter offers a classic taste and affordability, while almond and cashew butters are slightly milder and more neutral. Choose unsweetened varieties for best results.
5. Can I make these vegan?
Yes—use maple syrup instead of honey and ensure your chocolate (if added) is dairy-free. Nut butters are naturally vegan.
6. Are these bars good for weight loss?
They can be, especially when made with portion control in mind. The healthy fats and fiber help with satiety, making you feel full longer without reaching for extra snacks.
7. Can I use steel-cut oats?
No, steel-cut oats won’t soften properly and will result in hard, gritty bars. Stick to old-fashioned rolled oats for the right texture.