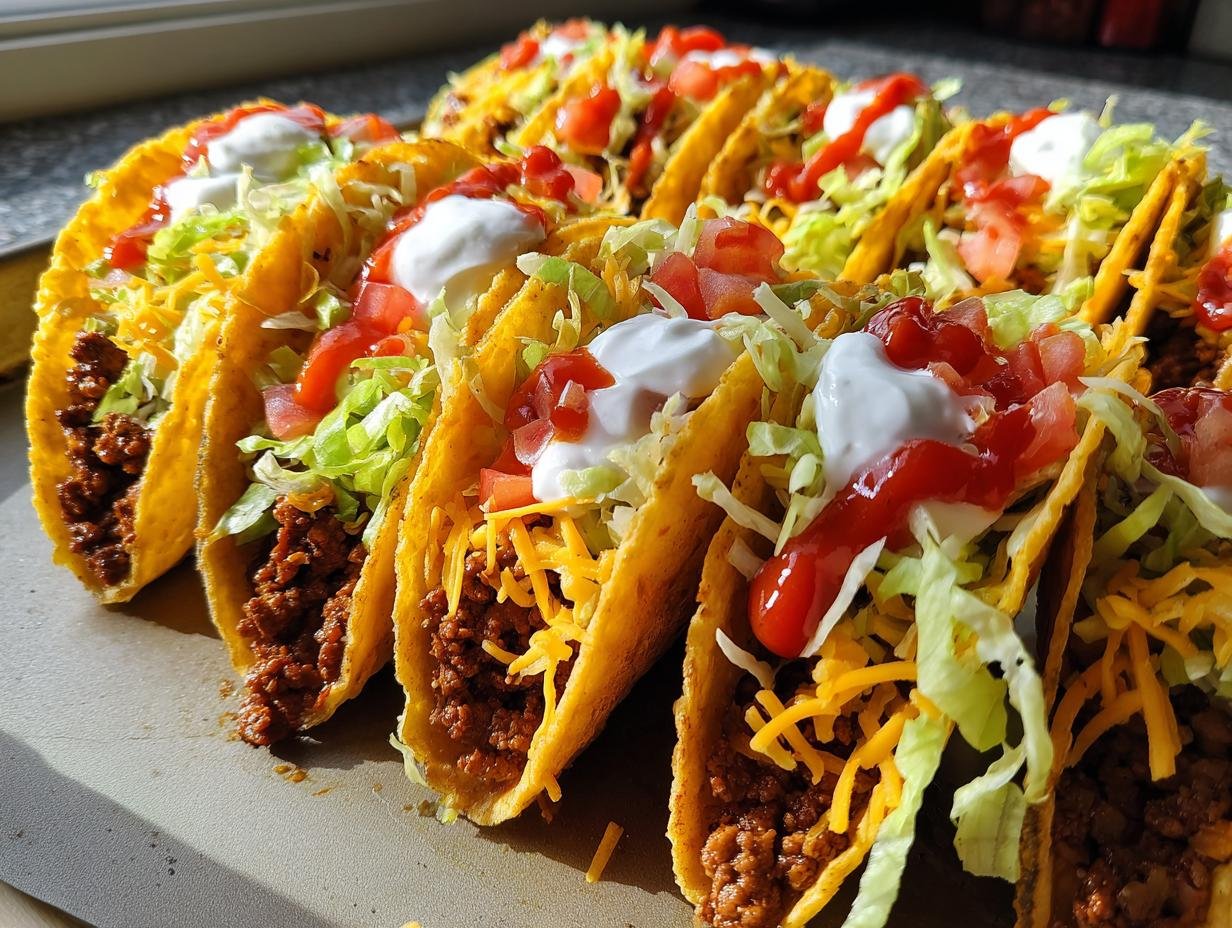
You know those nights when you need dinner to be easy, cheesy, and guaranteed to make everyone at the table happy? That’s exactly what these Cheesy Oven-Baked Tacos deliver—every single time. I swear by this recipe on busy weeknights when my kids are hangry and I’m too tired to fuss. Just picture crispy taco shells loaded with seasoned beef, melty cheese bubbling in the oven, and all your favorite fresh toppings piled high. It’s the kind of meal that turns a random Tuesday into a mini fiesta.
My family’s been obsessed with this version ever since I accidentally left a tray in the oven a few minutes too long—turns out, that extra crispiness was life-changing! Now it’s our go-to for potlucks, sleepovers, and those “I don’t feel like cooking” moments. The best part? You probably have most ingredients already. Let’s get started!
Why You’ll Love These Cheesy Oven-Baked Tacos
Listen, I’m not exaggerating when I say these tacos are a total game-changer for weeknight dinners. Here’s why:
- Crispy perfection: That extra few minutes in the oven transforms regular taco shells into golden, crunchy vessels that hold up to all your toppings without getting soggy.
- Almost no prep: Brown the meat, stuff the shells, and let the oven do the heavy lifting—done in under 30 minutes on your busiest days.
- Kid-approved magic: Even my picky eater demolishes these (pro tip: let them build their own for maximum enthusiasm).
- Endless possibilities: Swap proteins, cheeses, or toppings based on what’s in your fridge—they’re basically a blank canvas for creativity.
Seriously, once you try this method, you’ll never go back to soggy, sad tacos again. The melty cheese alone is worth it!
Ingredients for Cheesy Oven-Baked Tacos
Here’s what I always keep on hand for these tacos – trust me, you’ll want to double-check your pantry before starting!
For the Filling:
- 1 lb ground beef (85/15 works best for flavor)
- 1 packet taco seasoning (or 2 tbsp homemade blend)
- 1/2 cup water (helps the seasoning cling)
The Taco Shells:
- 12 hard taco shells (stand-and-stuff style work great)
For the Cheesy Magic:
- 2 cups shredded cheese (I use sharp cheddar, but Mexican blend works too)
Toppings (Pick Your Faves):
- 1 cup shredded lettuce (iceberg holds up best)
- 1/2 cup diced tomatoes (fresh or drained canned)
- 1/4 cup sour cream
- 1/4 cup salsa (mild or spicy – your call!)
See? Nothing fancy – just real ingredients that pack maximum flavor. Now let’s make some magic happen!
How to Make Cheesy Oven-Baked Tacos
Okay, let’s get down to business! These tacos come together so fast you’ll be shocked. Just follow these simple steps and you’ll have crispy, cheesy perfection in no time.
Preparing the Taco Filling
First things first – that delicious filling! Grab your favorite skillet (I use cast iron for extra flavor) and crank the heat to medium. Toss in your ground beef and break it up with a wooden spoon as it browns. You’ll know it’s ready when there’s no more pink – about 5-7 minutes.
Here’s my pro tip: drain off most of the fat (leave just a tablespoon for flavor), then stir in your taco seasoning and water. Let it simmer for about 5 minutes until the liquid reduces slightly. The smell alone will have your family hovering in the kitchen! If you’re using ground turkey instead, no worries – just add a tablespoon of oil since it’s leaner.

Assembling and Baking the Tacos
While your filling simmers, preheat that oven to 375°F (190°C). Line a baking sheet with foil – trust me, cleanup will be a breeze. Arrange your taco shells standing up – I usually fit about 12 on a standard sheet.
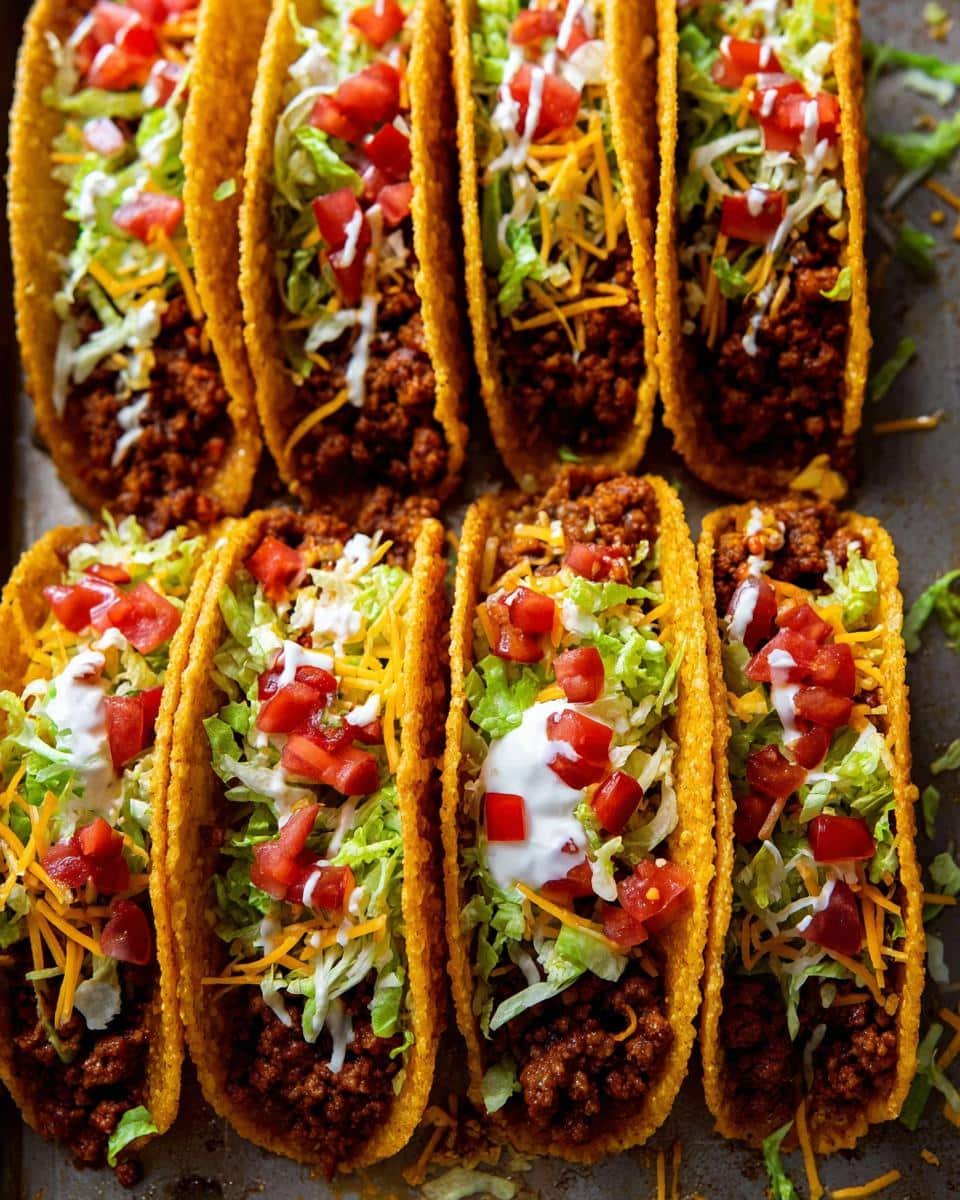
Now the fun part! Spoon that flavorful beef mixture into each shell, filling them about 3/4 full. Then comes the cheese – don’t be shy! Sprinkle it generously over each taco, making sure some gets down into the filling too. The cheese acts like glue holding everything together.
Pop them in the oven for 10 minutes. You’ll know they’re ready when the cheese is bubbly and the shell edges turn golden brown. Careful pulling them out – that baking sheet is HOT!
Adding Toppings
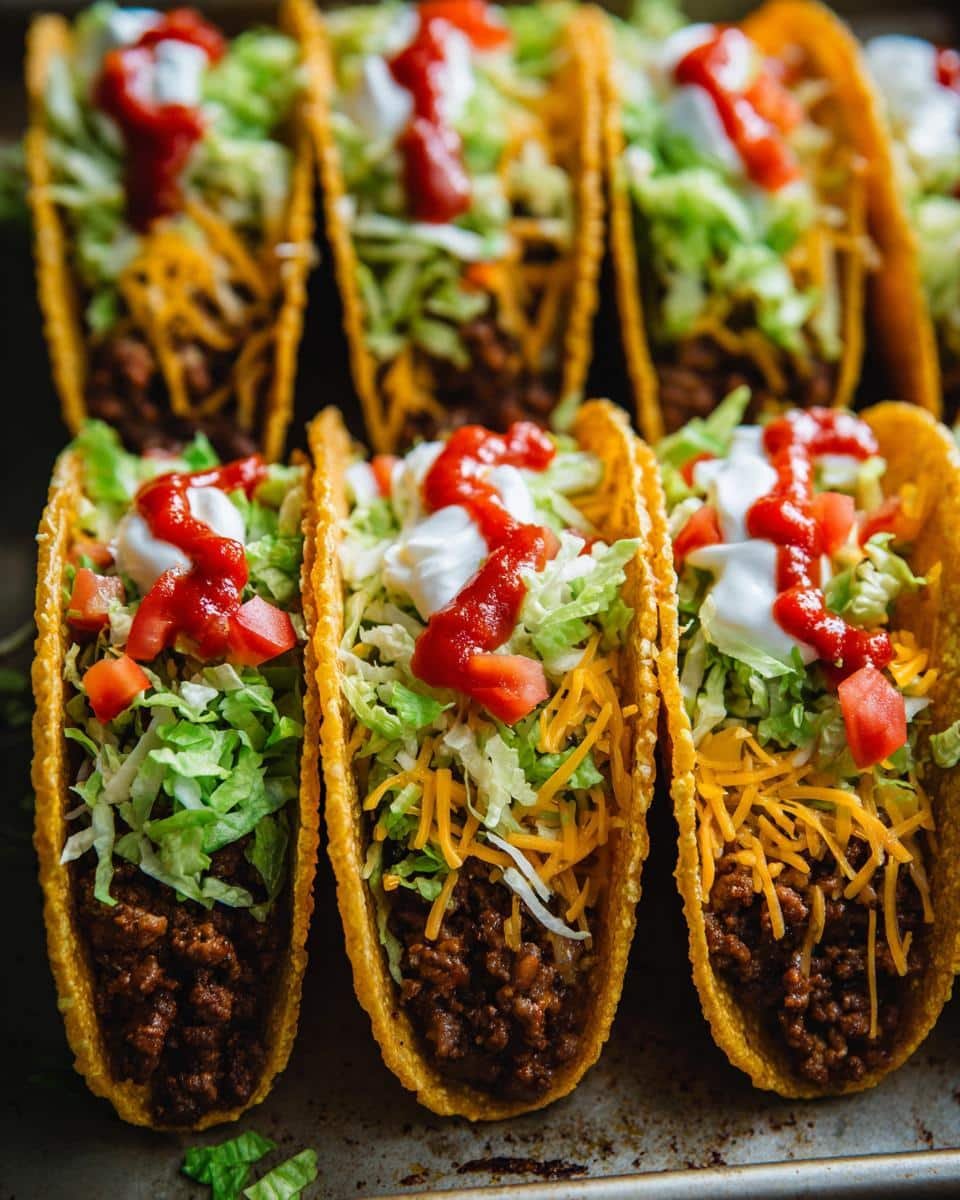
Here’s where you get creative! Let the tacos cool for just 2 minutes (this keeps the shells crispy), then pile on your favorite toppings. I always do lettuce first – it creates a protective layer against sogginess. Then tomatoes, a dollop of sour cream, and finally salsa. If you’re feeling fancy, some sliced avocado or pickled jalapeños take these over the top!
Serve immediately while everything’s warm and melty. Watch how fast these disappear – I guarantee you’ll be making them again soon!
Expert Tips for Perfect Cheesy Oven-Baked Tacos
After making these tacos more times than I can count, I’ve picked up some game-changing tricks:
- Preheat properly: That oven needs to be fully hot before the tacos go in – no cheating or your shells won’t crisp up right.
- Spray for extra crunch: A quick spritz of cooking oil on the shells before filling makes them extra golden and sturdy.
- Patience pays off: Let the baked tacos sit for 2 minutes before topping – that short rest keeps the shells from getting soggy.
- Cheese placement matters: Sprinkle some cheese under the filling too – it melts into a delicious “glue” that holds everything together.
These little touches make all the difference between good tacos and absolutely incredible ones!
Ingredient Substitutions and Variations
One of my favorite things about these tacos is how easily you can switch things up based on what you’ve got or dietary needs!
- Protein swap: Ground turkey or chicken work great (add extra seasoning). For veggie lovers, try black beans or crumbled tofu seasoned with taco spices.
- Shell options: Corn tortillas make them gluten-free, while flour ones get extra crispy. For low-carb, use lettuce cups!
- Cheese choices: Pepper jack adds heat, while vegan cheese melts surprisingly well. No cheese? Guacamole makes a delicious topping instead.
- Extra veggies: I often sneak in sautéed onions, bell peppers, or mushrooms to bulk up the filling.
The possibilities are endless – make them your own!
Serving Suggestions for Cheesy Oven-Baked Tacos
These tacos shine even brighter with the right sides! My go-to is a big scoop of Mexican rice – the fluffy grains soak up all that cheesy goodness. Refried beans make another perfect partner (try stirring in some of that melted cheese from the baking sheet!). For adults, a frosty margarita or cold beer cuts through the richness beautifully. Kids love them with a simple side of corn chips and guac. Honestly? A big green salad works too when you want something lighter. Mix and match – there are no wrong answers here!
Storing and Reheating Leftovers
Okay, let’s be real – leftovers rarely happen with these tacos in my house! But if you somehow end up with extras (lucky you!), here’s how to keep them tasty. Store the unfilled shells and toppings separately in airtight containers – they’ll last about 3 days in the fridge. When reheating, skip the microwave (it turns shells soggy) and use a 350°F oven for 5-7 minutes instead. The cheese will get melty again and the shells stay crispy. Pro tip: Add fresh lettuce after reheating for that just-made crunch!
Nutritional Information
Just so you know, these numbers are estimates – real life tacos might vary depending on your exact ingredients! Each cheesy oven-baked taco packs about 12g protein to keep you full, plus 2g fiber from those whole-grain shells and veggies. They come in around 210 calories per taco, which isn’t bad for something this satisfying. Of course, go easy on the sour cream if you’re watching fat content. The best part? You’re getting real food without any weird additives – just good, simple ingredients!
FAQs About Cheesy Oven-Baked Tacos
Can I freeze these tacos?
Absolutely! Just bake them without toppings, let them cool completely, then freeze in a single layer before transferring to an airtight bag. They’ll keep for 2 months. When ready to eat, pop them straight from the freezer into a 375°F oven for 12-15 minutes – they’ll taste freshly made!
How do I make vegetarian oven-baked tacos?
Easy peasy! Swap the ground beef for a can of drained black beans or meatless crumbles. Season them exactly like you would the beef – that taco seasoning works magic on everything. For extra texture, I love adding sautéed mushrooms or diced zucchini to the mix. Top with all your favorite veggies and extra cheese (or guac) for a meatless meal everyone will love.
What’s the best cheese for melting?
Hands down, sharp cheddar gives you that perfect stretchy melt we all crave. But my secret weapon? Mixing cheddar with a little Monterey Jack – it melts like a dream without getting greasy. If you want extra oomph, pepper jack adds a nice kick. Just avoid pre-shredded cheese if you can – it’s coated to prevent clumping but doesn’t melt as smoothly. Freshly grated is always best!
Did you make these cheesy wonders? I’d love to hear how they turned out! Drop a rating below or tag me in your taco pics – nothing makes me happier than seeing your kitchen creations. Now go enjoy those crispy, melty bites!
PrintIrresistible Cheesy Oven-Baked Tacos in 30 Minutes

Easy and cheesy oven-baked tacos with crispy shells and flavorful fillings.
- Prep Time: 15 mins
- Cook Time: 15 mins
- Total Time: 30 mins
- Yield: 12 tacos 1x
- Category: Main Dish
- Method: Baking
- Cuisine: Mexican
- Diet: Low Lactose
Ingredients
- 1 lb ground beef
- 1 packet taco seasoning
- 1/2 cup water
- 12 taco shells
- 2 cups shredded cheese
- 1 cup lettuce, shredded
- 1/2 cup diced tomatoes
- 1/4 cup sour cream
- 1/4 cup salsa
Instructions
- Preheat oven to 375°F (190°C).
- Brown ground beef in a skillet over medium heat.
- Drain excess fat and stir in taco seasoning and water.
- Simmer for 5 minutes.
- Place taco shells on a baking sheet.
- Fill each shell with beef mixture.
- Sprinkle cheese on top.
- Bake for 10 minutes or until cheese melts.
- Top with lettuce, tomatoes, sour cream, and salsa.
- Serve warm.
Notes
- Use soft tortillas for a different texture.
- Add jalapeños for extra heat.
- Store leftovers in an airtight container.
Nutrition
- Serving Size: 1 taco
- Calories: 210
- Sugar: 2g
- Sodium: 480mg
- Fat: 12g
- Saturated Fat: 5g
- Unsaturated Fat: 6g
- Trans Fat: 0g
- Carbohydrates: 15g
- Fiber: 2g
- Protein: 12g
- Cholesterol: 40mg